
Ensuring your analyzer functions optimally is crucial for accurate pool monitoring. Sometimes, incorrect measurements can be attributed to dirt accumulation on the probe. A comprehensive cleaning may resolve this issue.
Cleaning the probe is a delicate process, and only recommended by our specialists depending on the situation, such as:
- The analyser has been active for more than a year and sensor cleaning has never been carried out, and now you do not trust the values.
- The analyser is located in the engine room / Fit50 for a long period of time and the salinity values do not change.
- After hibernation the values are no longer stable.
Step-by-Step Cleaning Guide:
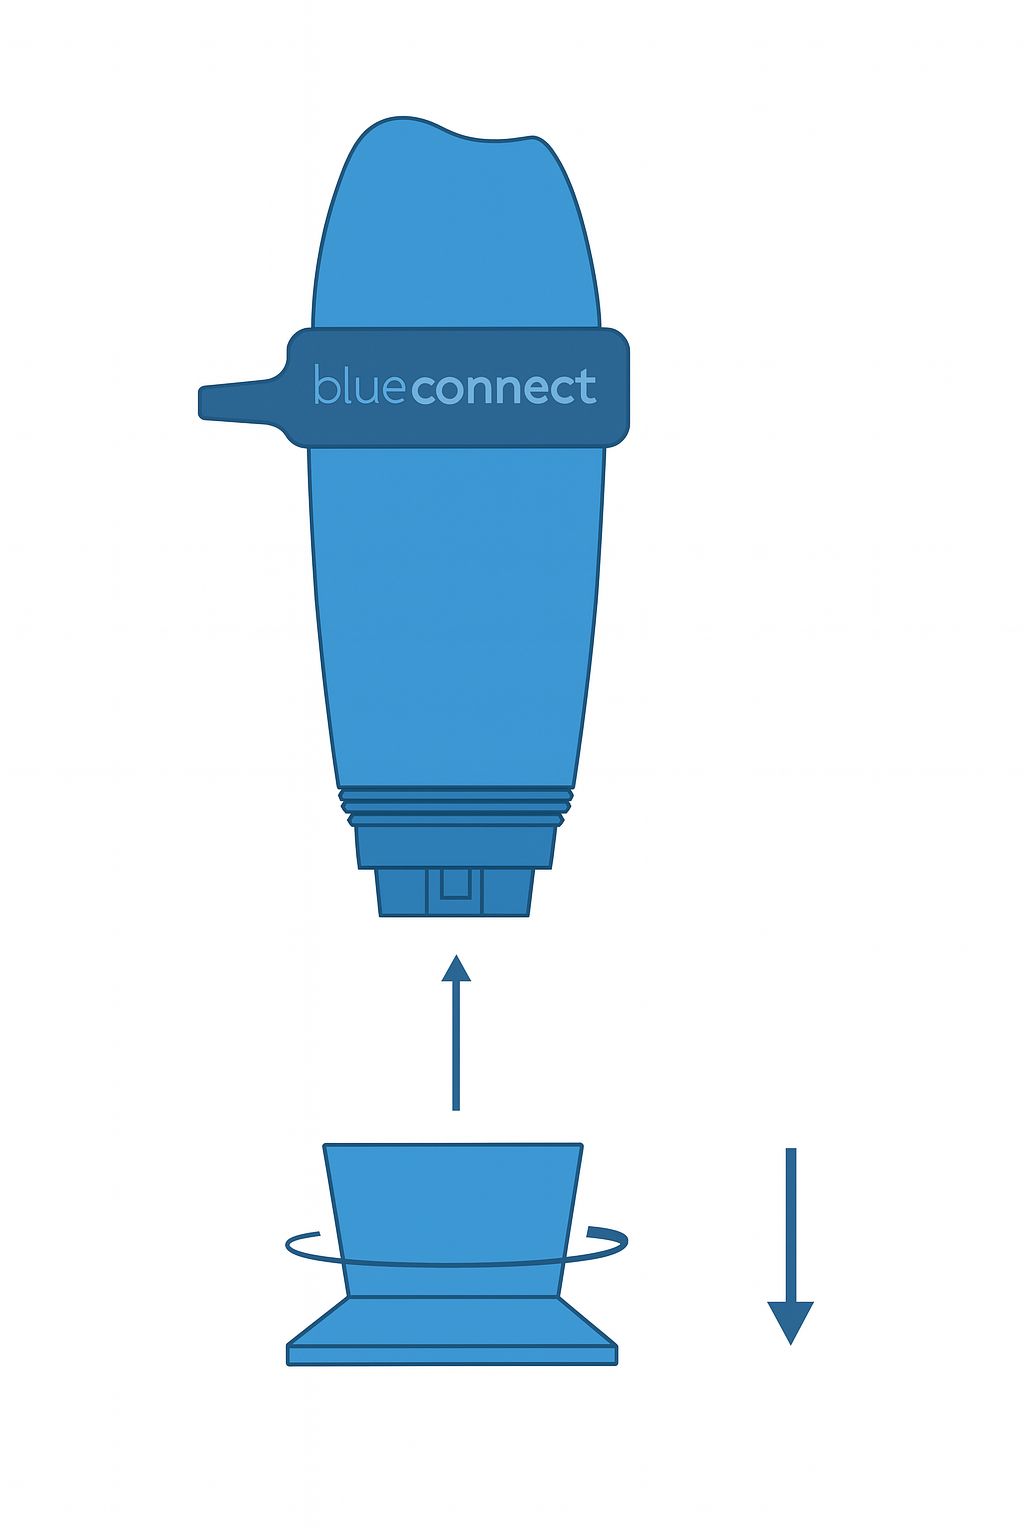
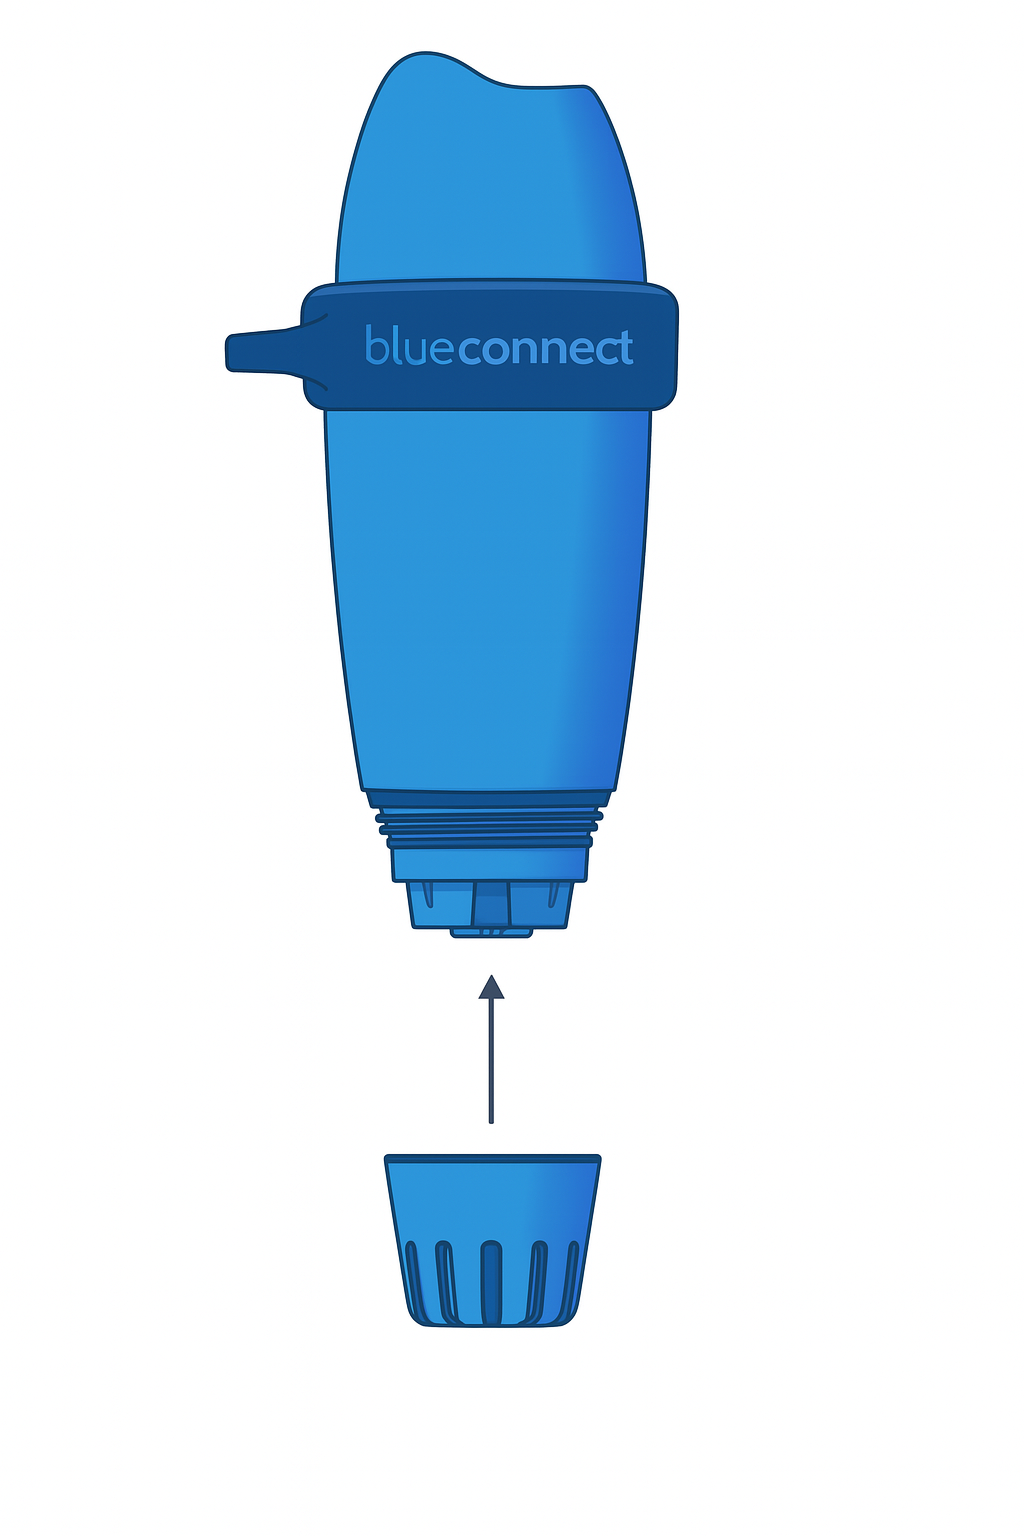
- Preparation: Remove the analyzer from the water and remove the usage cap. Start this cleaning process in a dry, clean environment.
2. Wipe the Device: Use a clean, absorbent cloth to gently wipe the device, especially focusing on the lower part where the probe is situated. Avoid touching the sensors directly.
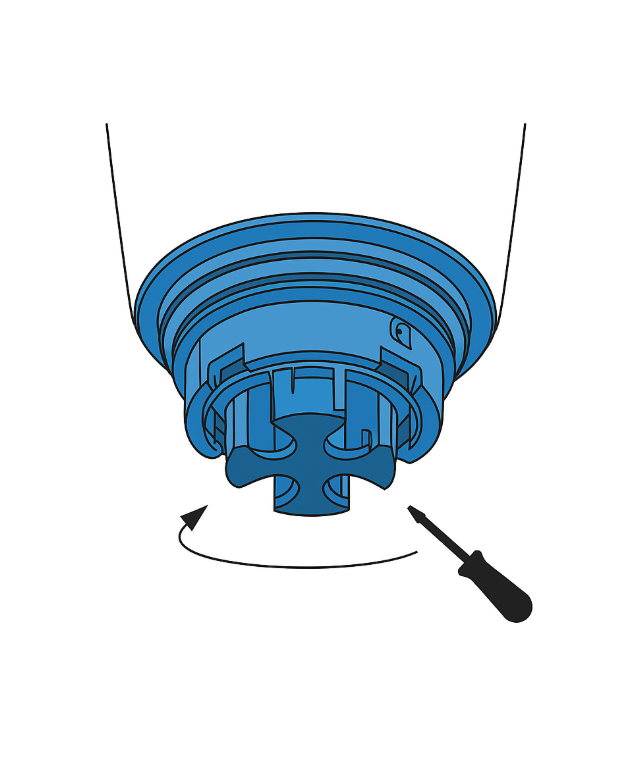
3. Disassembly: If there's a screw on the nut's edge, use a screwdriver to loosen it. Skip this step if no screw is present.
4. Nut Removal: Unscrew the nut with the cloth. If difficult, adjustable pliers can be used carefully at the precise location (refer to Image A for guidance).
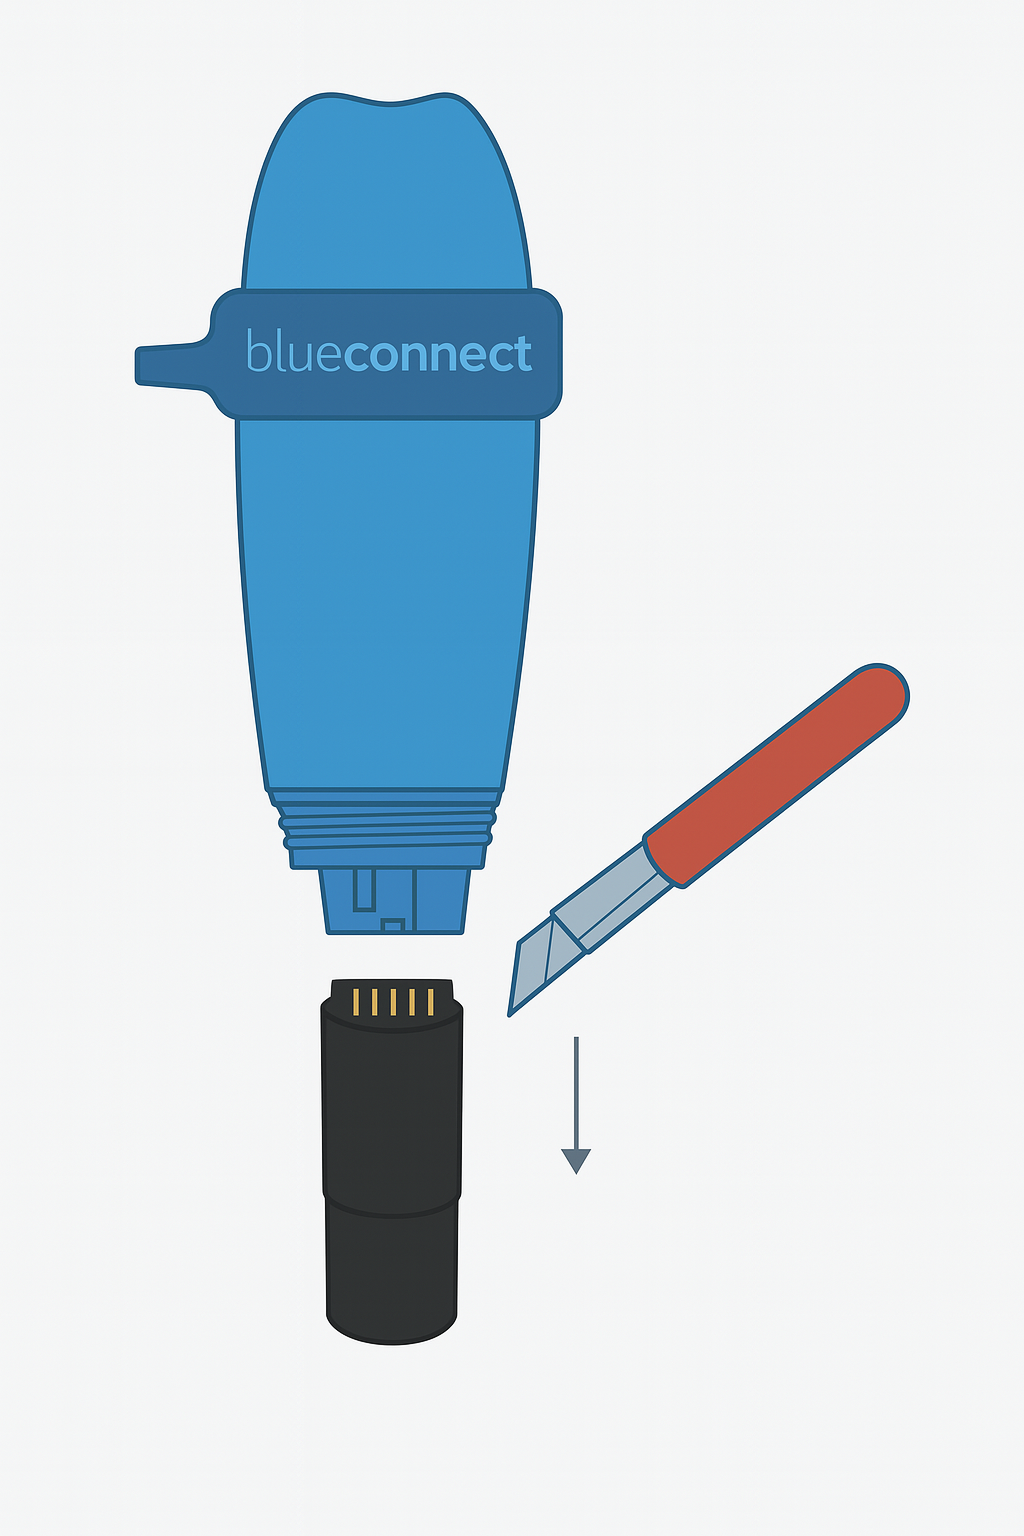
5. Unlocking the Probe: Utilize a knife, cutter, or even nails to unlock the probe.
6. Probe Extraction: Carefully remove the probe, keeping the analyzer upright to prevent water ingress. Check and remove the seal if it's stuck inside.
7. Drying Off Residual Water: Dry any remaining water around the opening and inside the hole with the cloth.
8. Cleaning the Golden Contacts: Dip a cotton swab in household alcohol and clean the probe's golden contacts until they are completely clean and shiny.
9. Seal Replacement: Reattach the seal to the probe.
10. Reinserting the Probe: Place the probe back and twist it until it fits correctly, indicated by three beeps within 15 seconds.
11. Tighten the Nut: Screw the nut back on firmly, using a cloth to enhance grip and prevent injury.
12. Reassembling: If your model includes a screw, tighten it appropriately without overdoing it. Then, replace the usage cap and submerge the analyzer back in water.
Additional Cleaning and Diagnostic Tips:
Inspecting Sensors: Ensure the sensors are free from dirt by removing the usage cap and unscrewing the nut for a clear view.
Rinsing: Rinse the probe with clean water after resecuring the nut.
Deep Cleaning: Immerse the device in soapy water for 5 minutes.
Calibration: After cleaning, if measurements do not stabilize, consider calibrating the probe. Follow our step-by-step Calibration Guide for detailed instructions.
If you haven't found the information you are looking for in our FAQ section, don't hesitate to contact our agents in the help section of the app. Remember to turn on app notifications to know when your message has been replied to.