If you don’t have a new battery yet, please check this link to find where to purchase one.
NB: To ensure optimized battery life, put the analyzer into standby mode when the pool is in winterization.
Battery Replacement Steps:
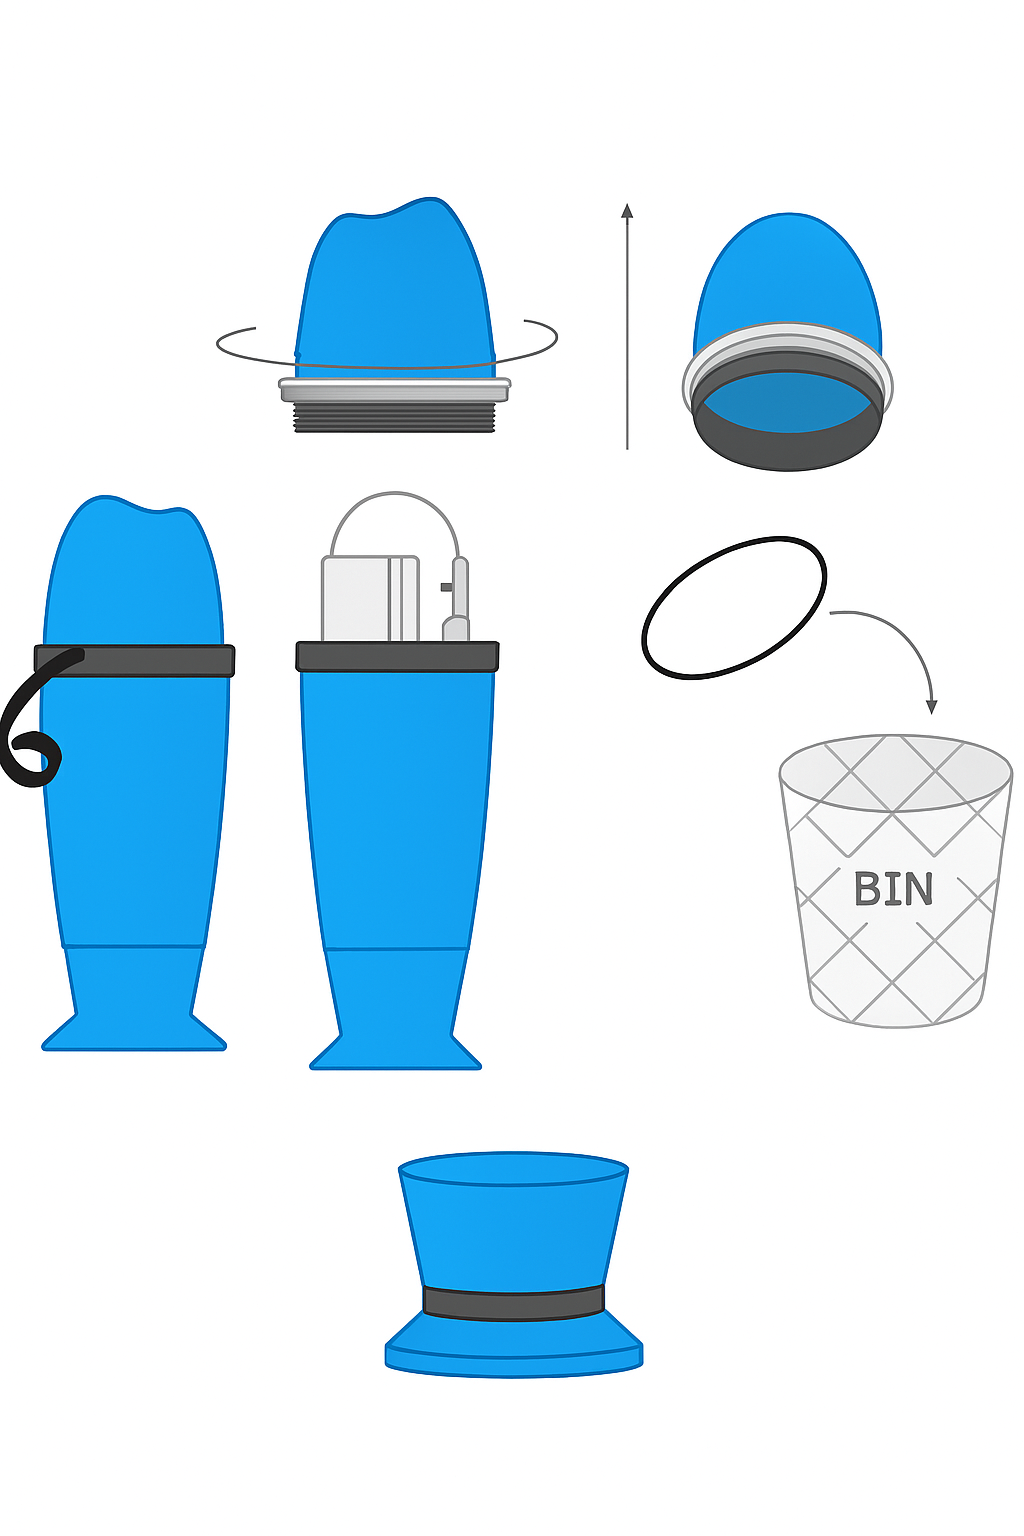
1. Take out the device from the water, remove the rubber ring and the usage cap and place the analyzer on the storage cap.

2. Wipe it and start the procedure in a dry and clean place.
3. Remove the adhesive tape and unscrew the upper part of the device. This is a left-hand thread. Unscrew it in a clockwise direction. Remove the seal and discard it.

4. Unplug the white connector by pulling the red and black cable. The battery is at the other end of the cable. Press the plastic rod to release the battery, and remove it by pulling the cable.

5. Place the new battery at the bottom of the cavity until it is secure. Then, plug in the connector.
6. Place the new seal supplied with the battery on the screw thread of the upper part of the device. Close the upper part. This is a left-hand thread. Screw it counter-clockwise.
7. Replace the ring. Then, place the usage cap and place the analyzer back in the water.
Click here to purchase your official spare parts at your local or online store.
If you haven't found the information you are looking for in our FAQ section, don't hesitate to contact our agents in the help section of the app. Remember to turn on app notifications to know when your message has been replied to.


